Use the Add function in the Plan Drillholes module to add new Drillholes to IMDEXHUB-IQ™.
The following is the minimum (mandatory) information required to add a Drillhole to IMDEXHUB-IQ™:
Drillhole names are required to be unique, IMDEXHUB-IQ™ will notify when an existing name is used.
True North Azimuth is set to zero if the Dip is ±90.
Drillholes can also have the following optional information:
Drillhole details can be edited until the Drillholes are shared or made active. After this, only Program, Group, Hole Type and Tenement are editable.
Drillhole Program, Drillhole Group, Drillhole Hole Type and Drillhole Tenement selection lists are set up through the Manage Lists module.
Users need to have permissions to the specific Project before they can add Drillholes to it. This is set up via the Manage Users module.
To add a Drillhole to IMDEXHUB-IQ™:
Select Drillholes

True North Azimuth defaults to 0 if Dip is set as ±90.
If you are unable to see the Project you are looking for in the dropdown list you might not have permissions to see it. Please contact your administrator for permission.
When a Project has been selected in step 4 above, the unit of measure is automatically attributed from the project settings.
If you select a valid Grid and Zone then enter a valid Collar Easting and Northing for any Drillhole, the Latitude and Longitude for the drillhole are automatically calculated. The calculated Latitude and Longitude cannot be altered.
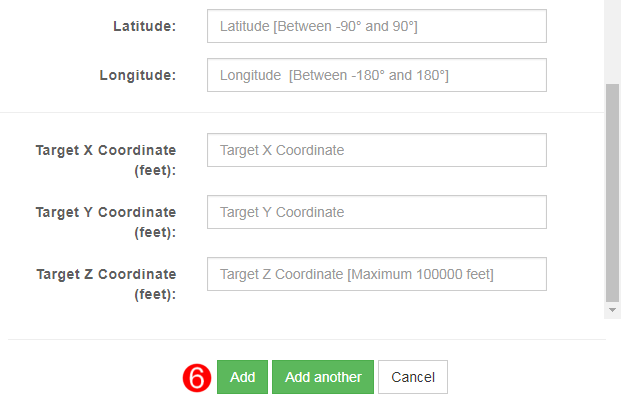
Some fields are grouped. Once you enter a field that is part of a group of fields, the others in that group become mandatory. The groups include:
- Collar Easting, Northing and Elevation
- Latitude and Longitude
- Target Coordinates (X, Y and Z)When entering Target Coordinates, you must also enter Collar Easting, Northing and Elevation values. However, if you enter the Collar values, the Target Coordinates are optional (though if you enter one, you must enter all three).
XYZ coordinates are calculated when structural readings are assigned to a drill hole, the default behaviour is to use the planned path (drill hole information) and plot a straight line. In the approve screen whenever the hole path is changed the XYZs are recalculated based on the type selected and the database is updated.
If XYZ coordinates are not entered in the planned stage, they are not calculated at all.

New Drillholes are added to IMDEXHUB-IQ™ with a status of Planned.
If you have a large number of Drillholes to add to IMDEXHUB-IQ™ you can use the Bulk Import utility. This imports data via a CSV file. The data must conform to the required order and format. You can download an example file for the required layout and format.

|

|

|

|

|